The Workshop
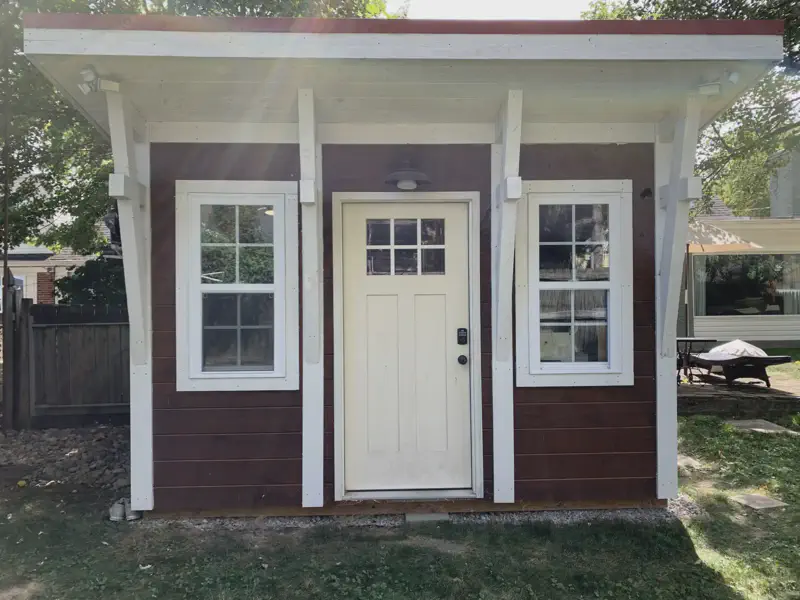
Welcome to my workshop, where I design and build my projects.
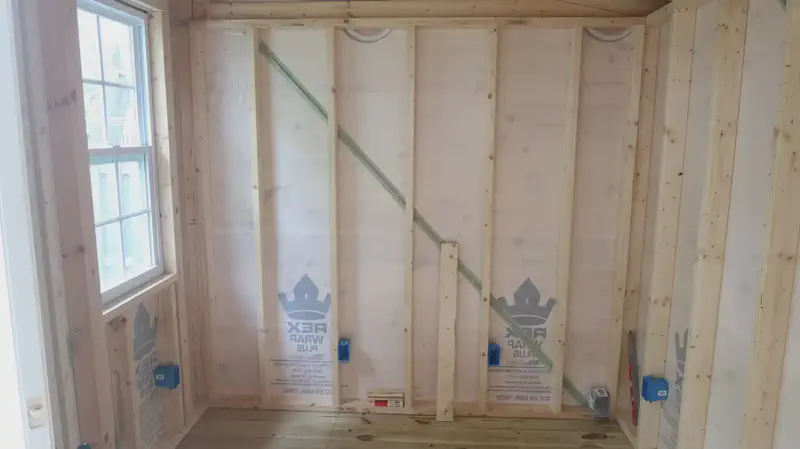
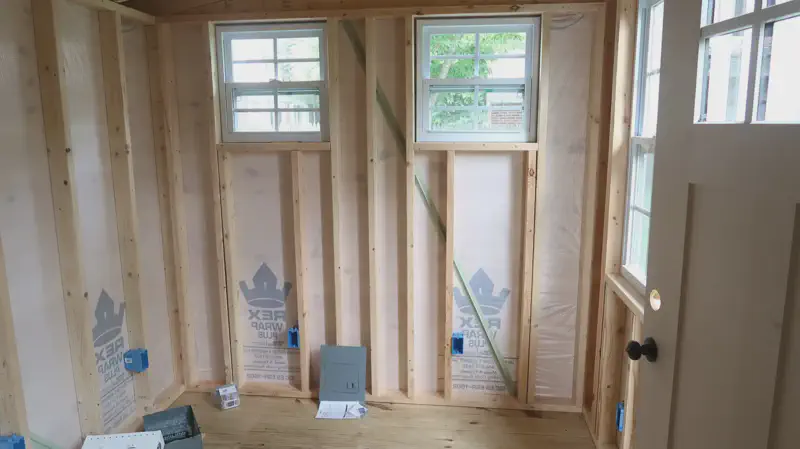
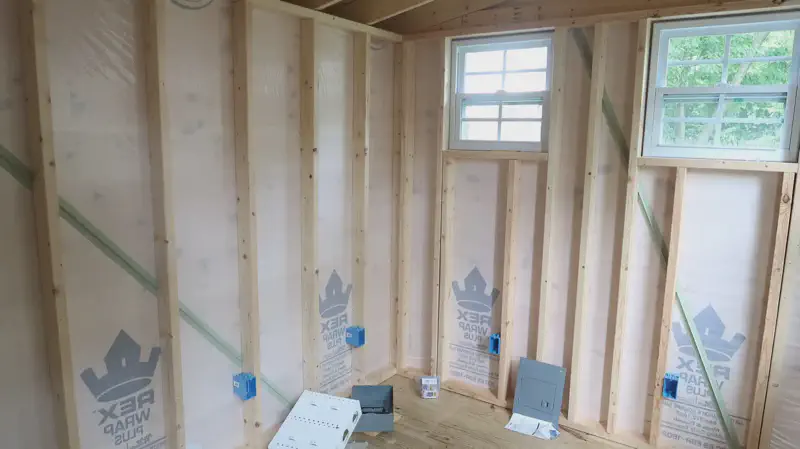
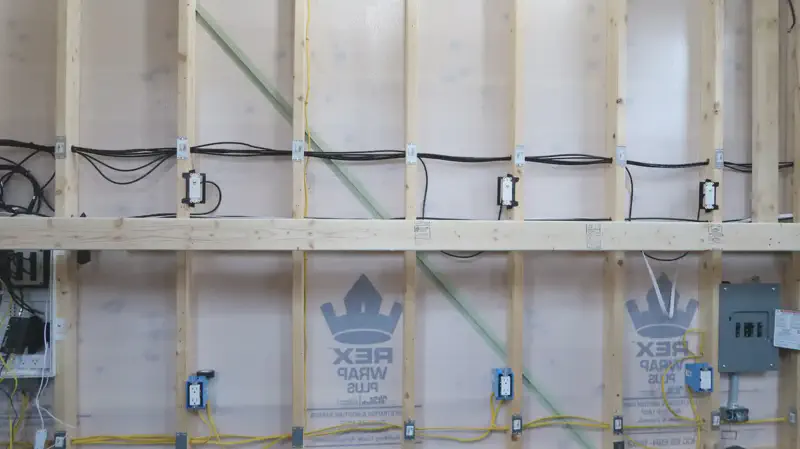
Workshop Shell
Finished Workshop
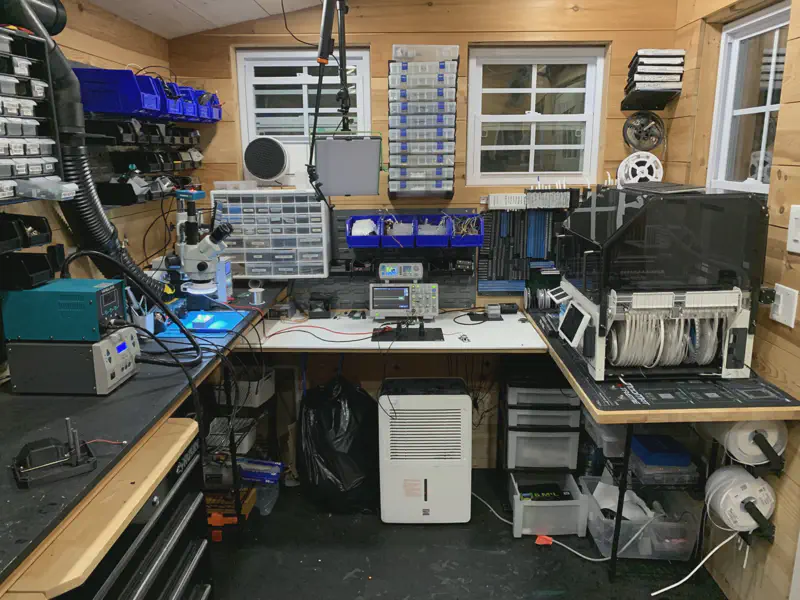
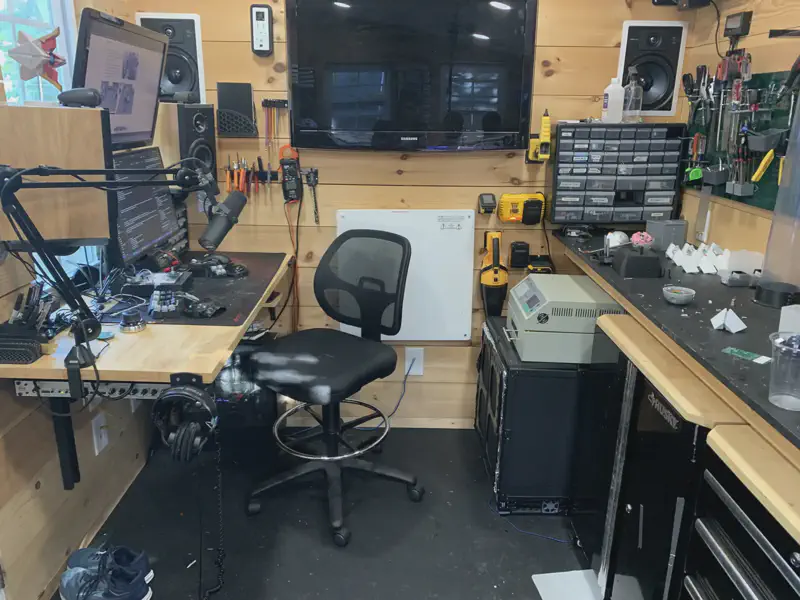
PC Setup
At my computer setup I do:
- 3D Modeling
- Programming
- Circuit Design
- Video Editing
- Research
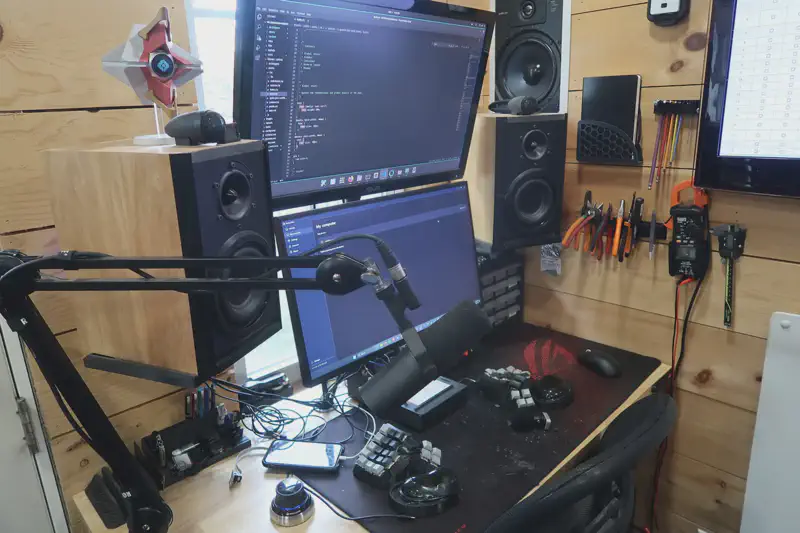
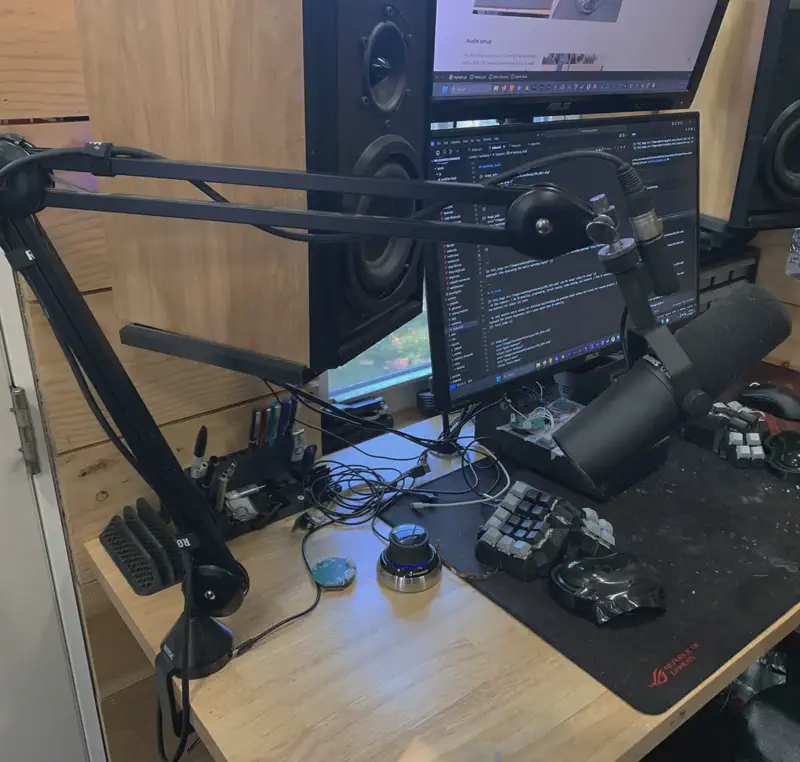
I find it essential to have at least two monitors for almost all tasks. Specifically for things like pcb design I will have a datasheet on one monitor and kicad on the other. Additionally, I use a split keyboard for better ergonomics and a space mouse specifically for 3D modeling.
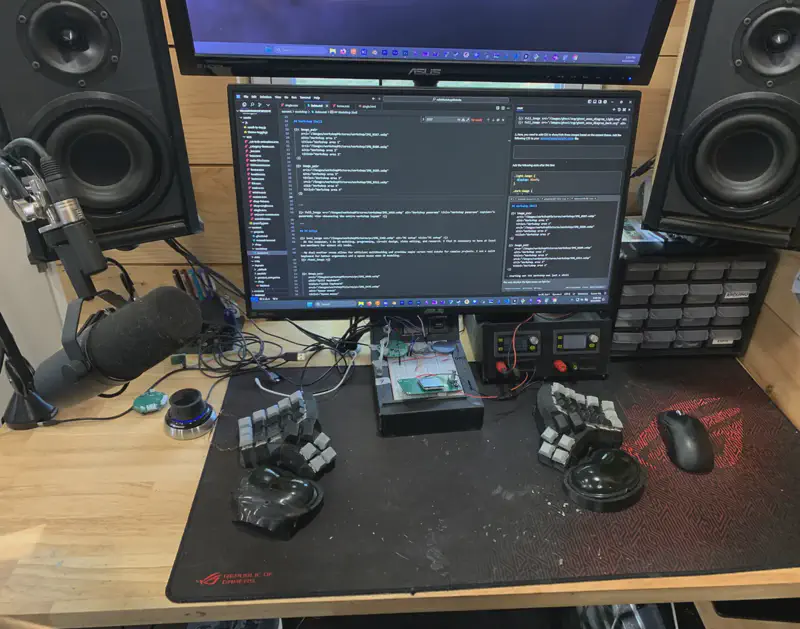
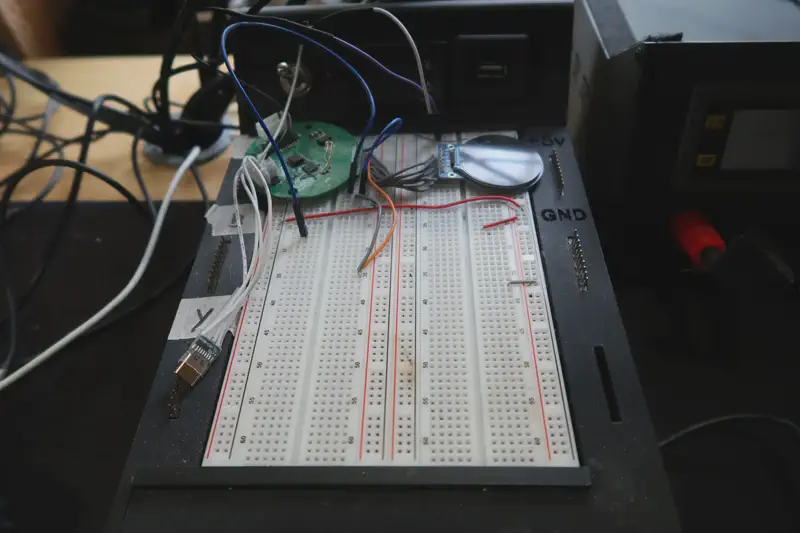
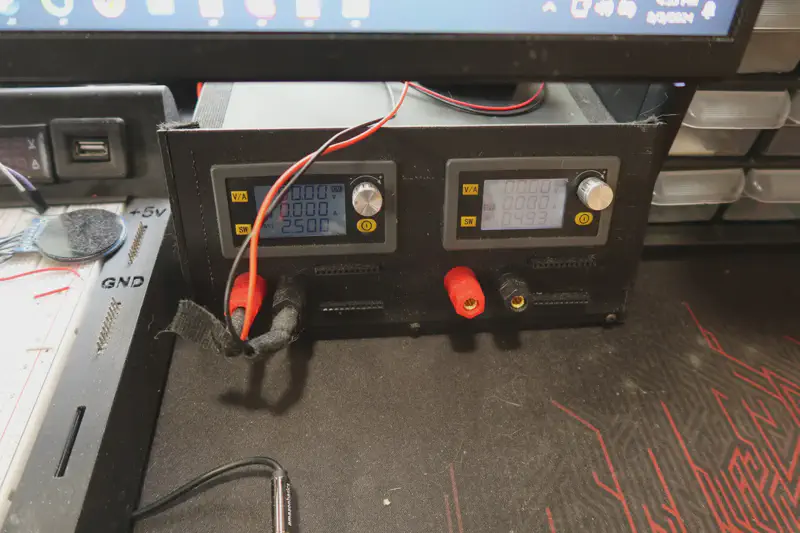
When I need to be at the computer while prototyping, I have two power supplies and a battery-powered breadboard that I use.
Audio Setup
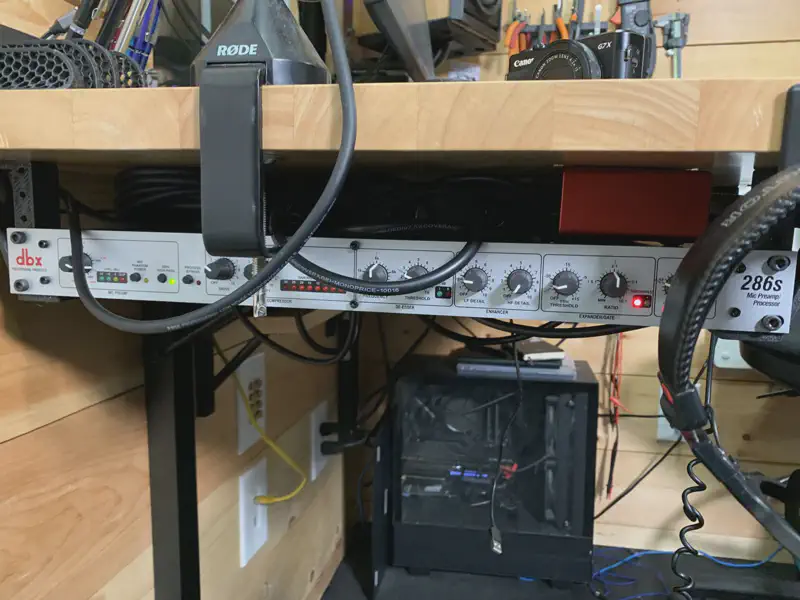
For recording audio, I use a Shure SM7B microphone paired with a DBX 286 preamp. This setup feeds into a Scarlett Solo audio interface before connecting to the PC.
For most audio playback, I use my custom bookshelf speakers. However, when editing, I switch to Sony MDR-7506 headphones for more precise audio monitoring.
Storage
For storage, I use a few different systems depending on the size of the item and the total number of variants.
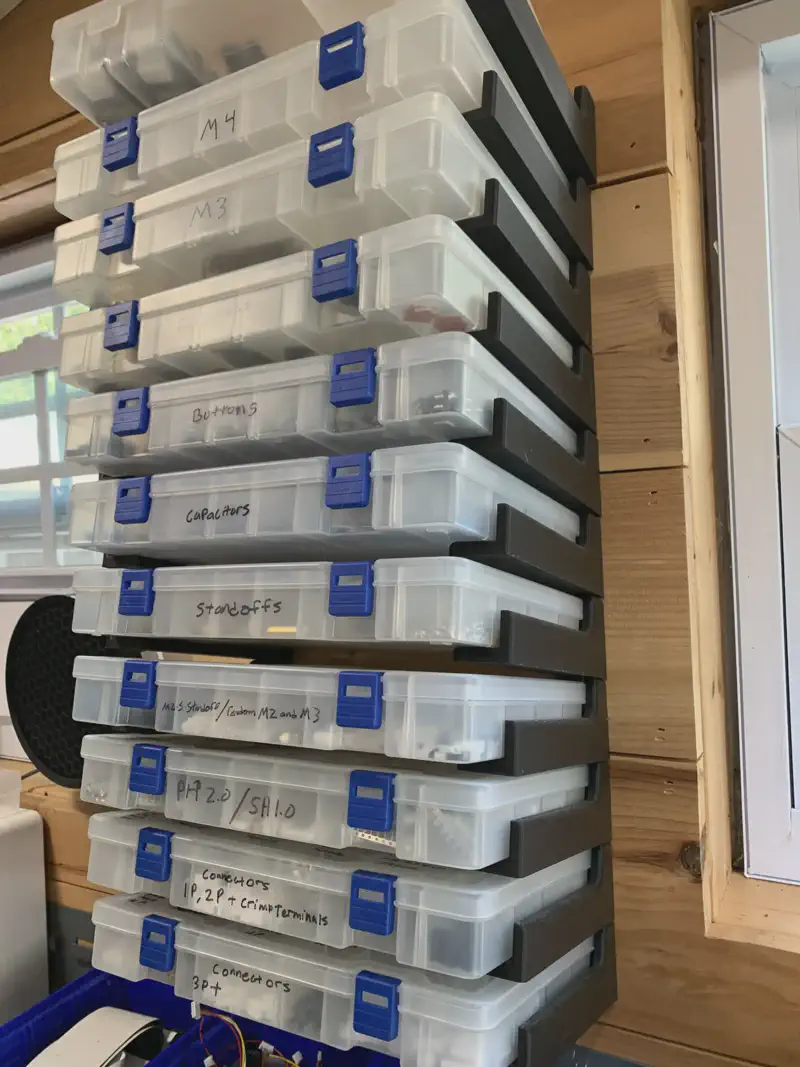
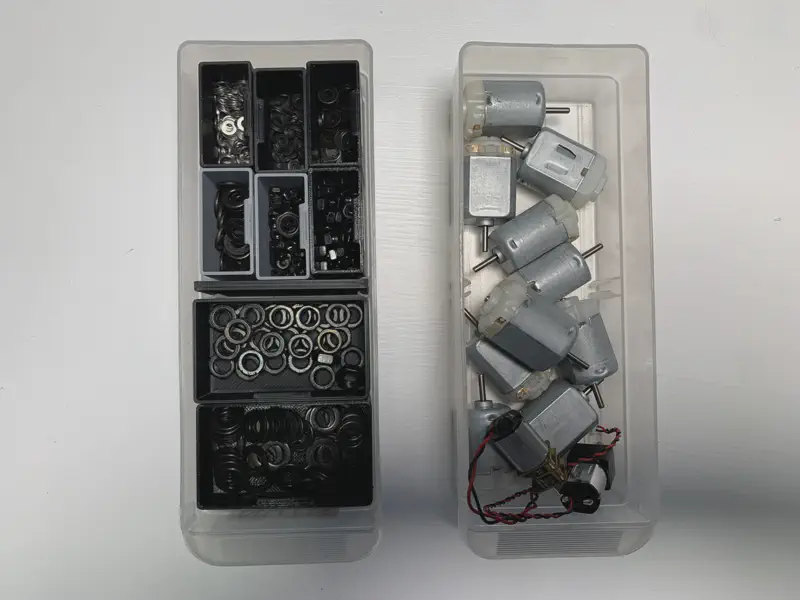
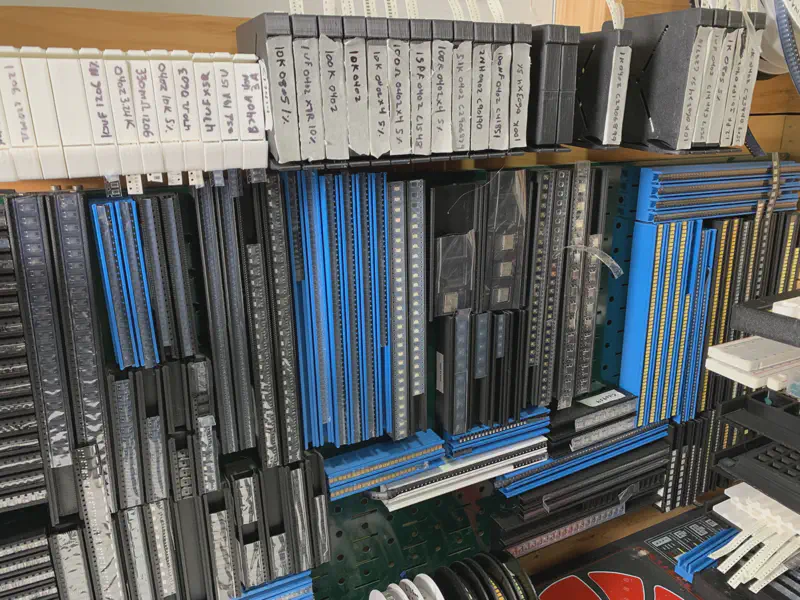
For items with lots of variants, I use divider bins that are mounted and stacked. This setup works well to pack a lot of small things into tight space. The bins are also separated and not directly stacked on top of each other, making it much easier to access them.
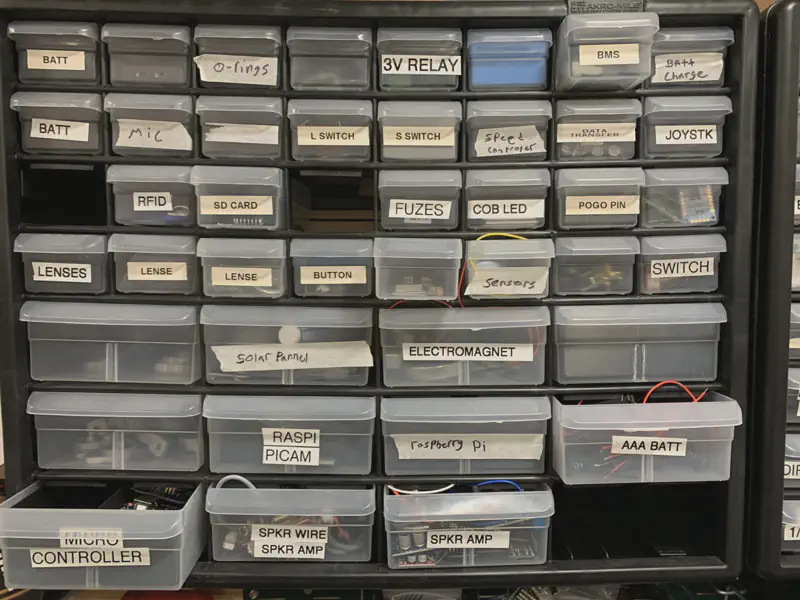
For items with fewer variants, I use Akro-Mils bins. These are great for small to medium-sized parts. Additionally, I printed dividers that fit into the bins to further organize even smaller parts.
Soldering
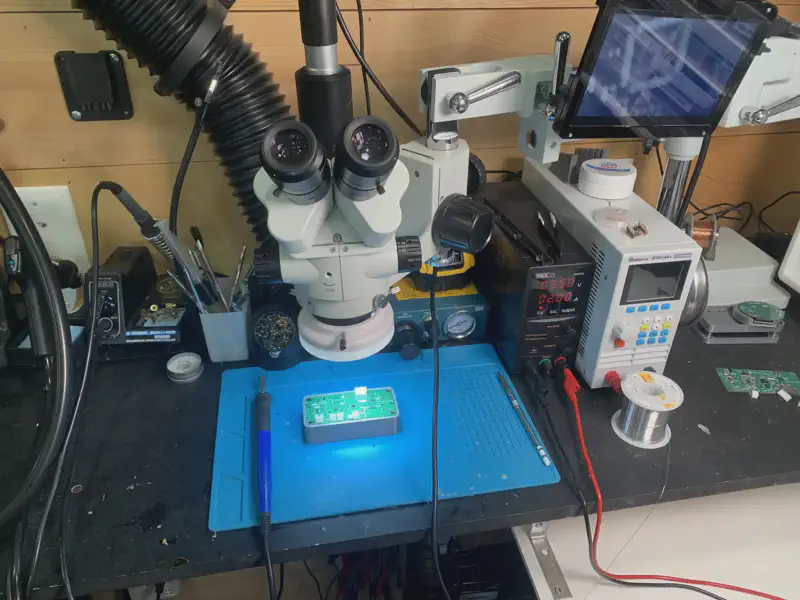
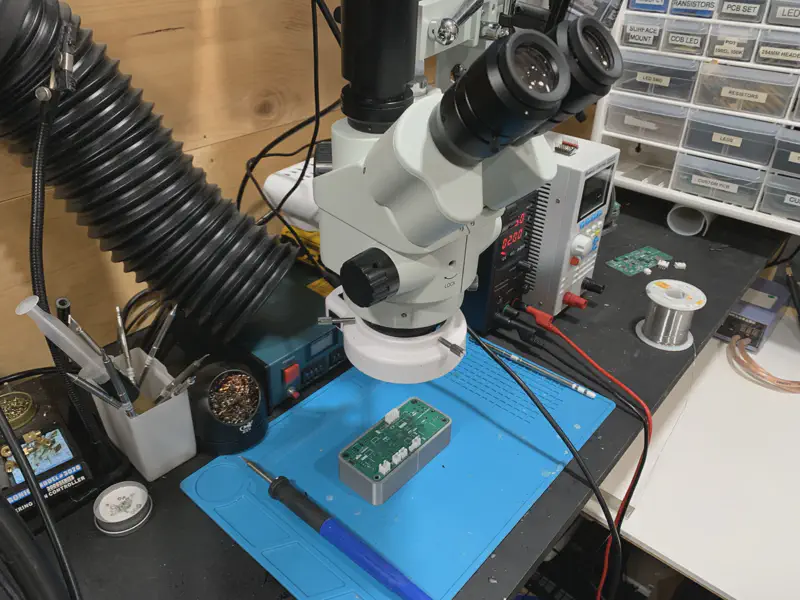
I also use a microscope when soldering, especially for anything smaller than 0603 components. I chose this specific microscope because it has a solid, stable base. And when paired with a Barlow lens , it can be spaced far from what I am trying to solder while still being in focus. Additionally, it has the space to mount a ring light and a third port that I have attached a camera to. This gives me the ability to record my soldering work up close.
3D Printing
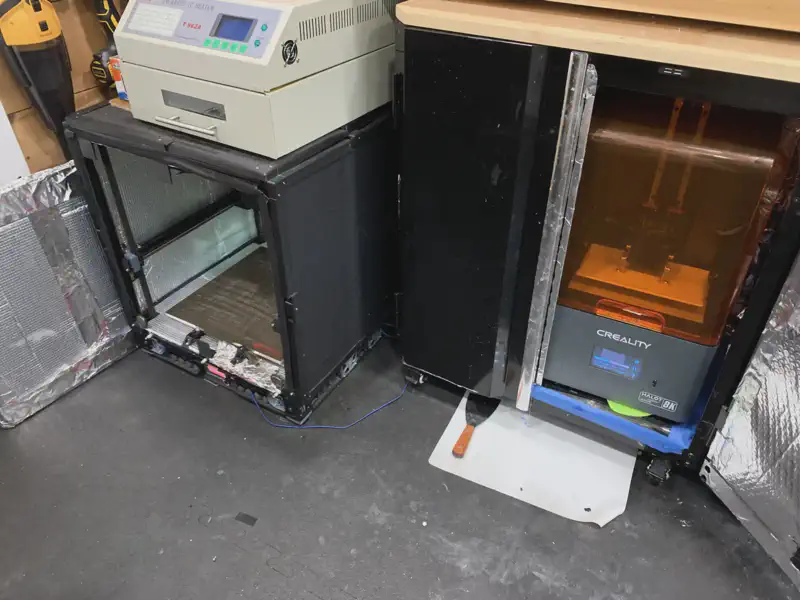
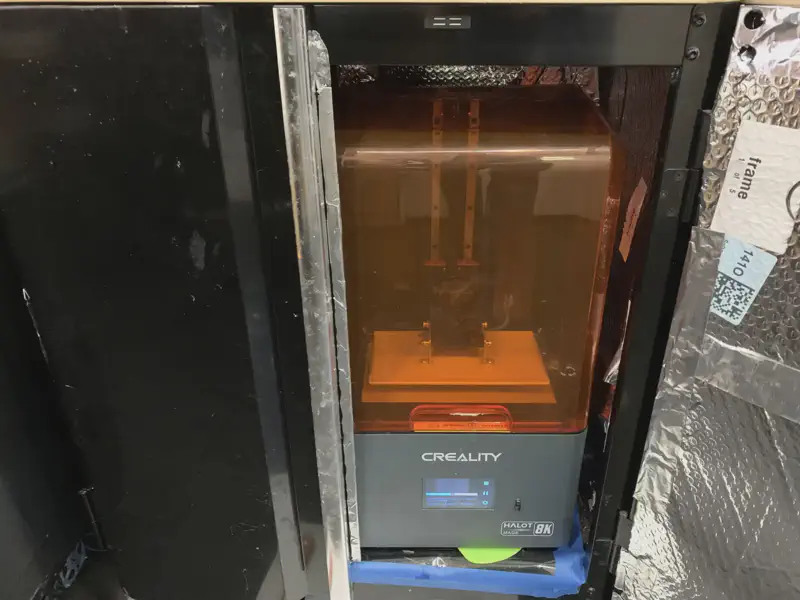
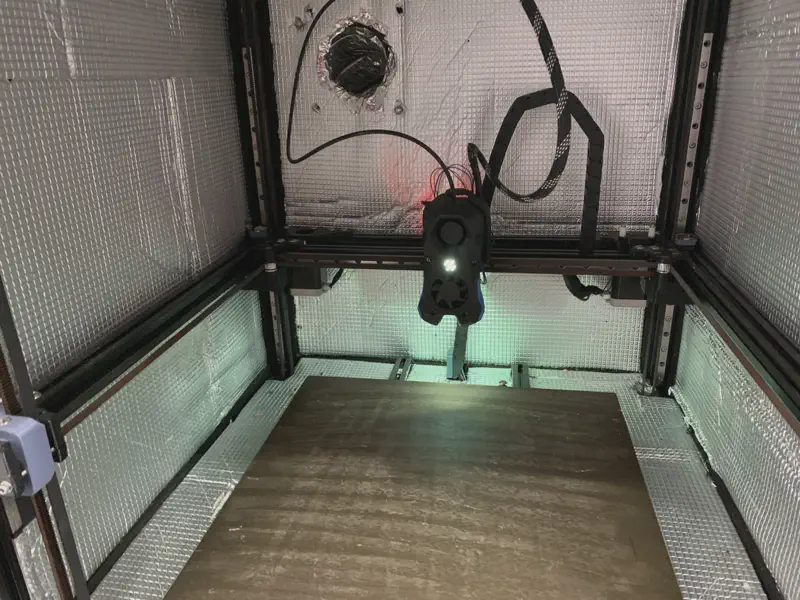
For resin printing, I have an elegoo mars 2 pro( equivalent printer ) and a Halot Mage 8K . These printers I use for high-detail parts.
The post-processing and cleanup involved in resin printing is a pain, so I only use it when necessary. However for certain high detailparts it’s absolutely essential.
Pick And Place
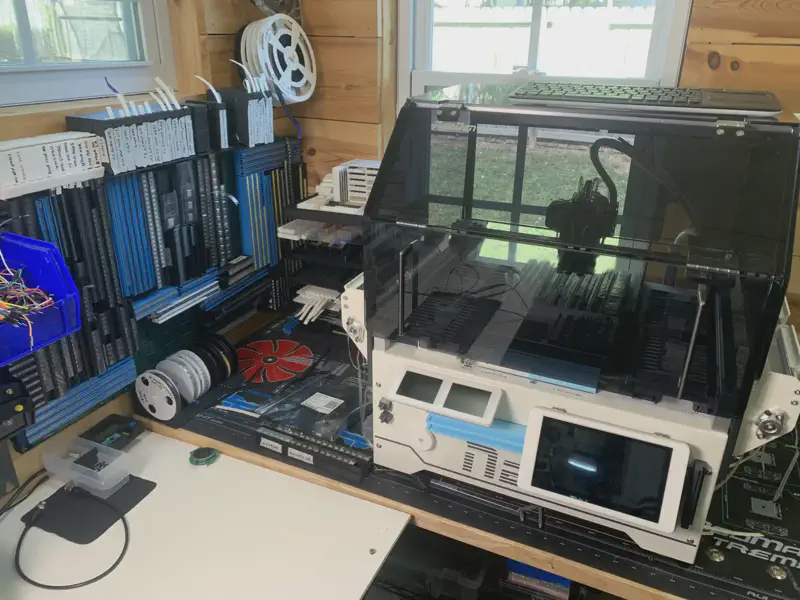
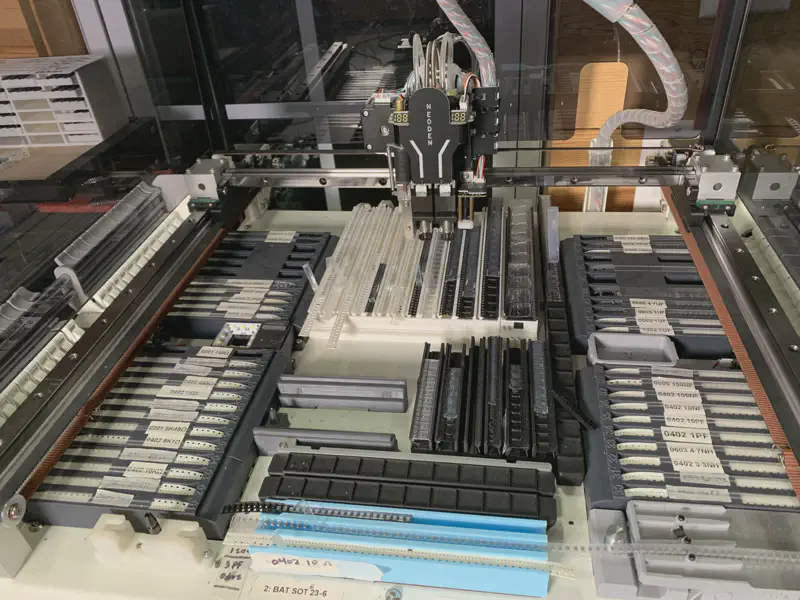
The PnP has been especially useful for the boards I have been making recently. The most recent board I made had just over 130 individual components. And manually populating this board would take close to an hour per board, but with the PnP machine, it takes just 2 or 3 minutes.
Prototyping and Testing
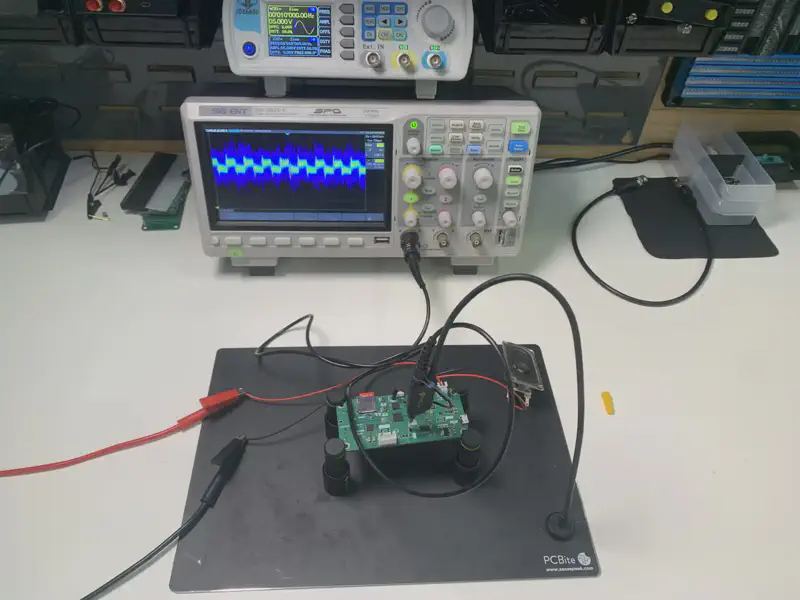
When prototyping a new board, there are a few essential tools that I use:
- Oscilloscope: I use a simple two-channel Siglent SDS 1202X-E It is great for the relatively simple prototyping and debugging tasks I do.
- PCB Probes: For connecting to pads on the PCB, I use PCBite probes These can be easily positioned and placed directly onto pads that would be extremely difficult to connect to in any other way.
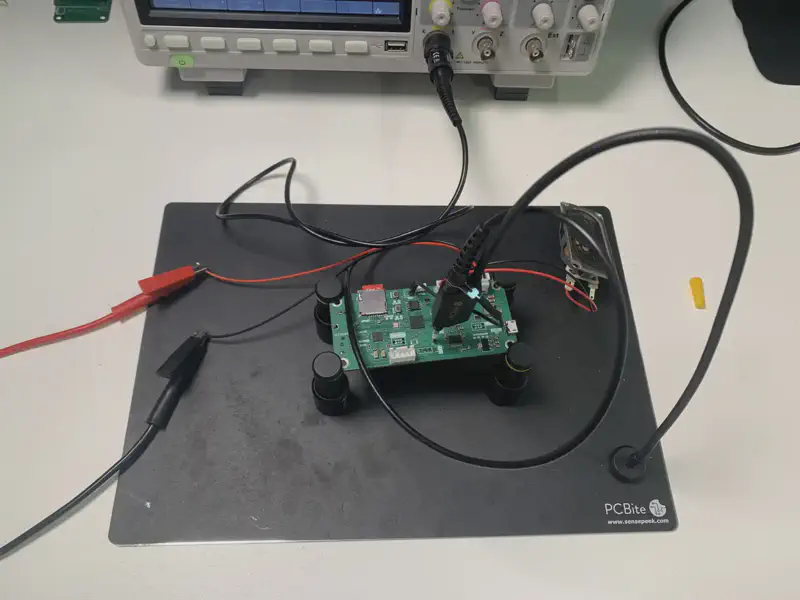
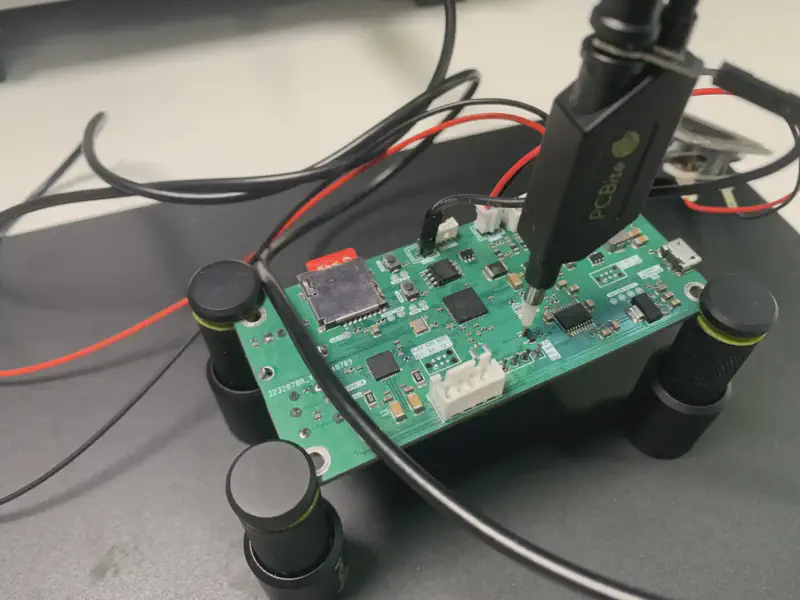
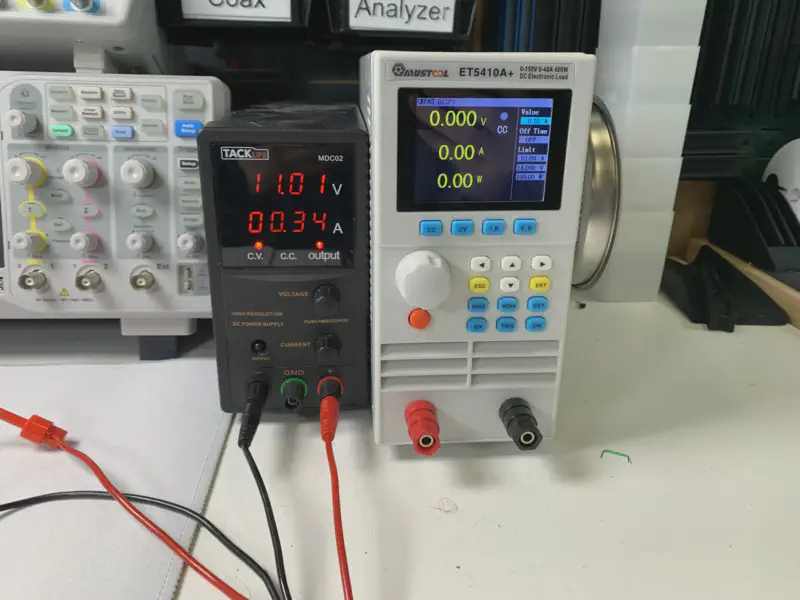
- Power Supply: I have a simple 30V 10A constant current, constant voltage power supply that works well for my low-power projects. ( equivalent supply )
- Electronic Load: I use this to test the power delivery capabilites or thermal dissapation of the boards I am prototyping. Specifically I use the ET5410A , this can up to 400W which is plenty for any of my projects.
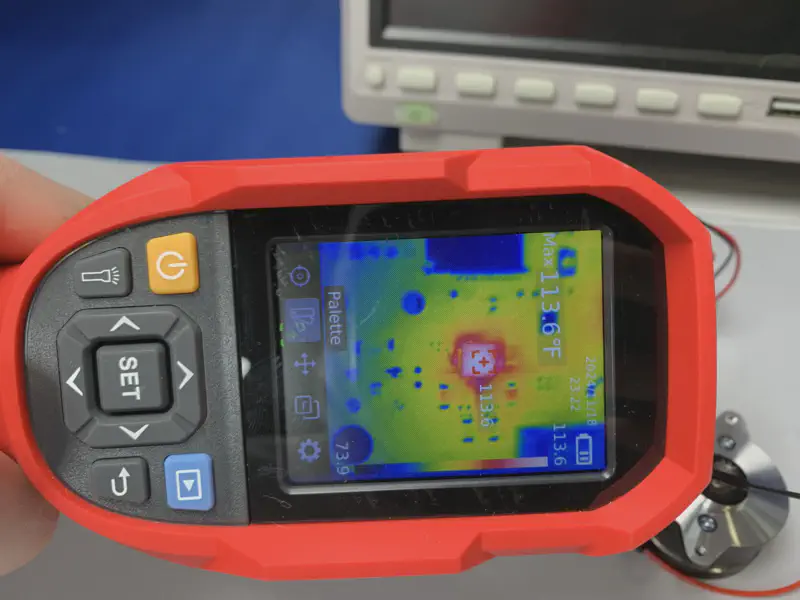
- Thermal Camera: While testing, I use my handheld thermal camera to make sure no components or parts of the PCB get too hot under different types of loads. The nice thing about the UTI260B is it comes with a detchable lense that gives it the ability to focus really close up to individual components.
Video Recording
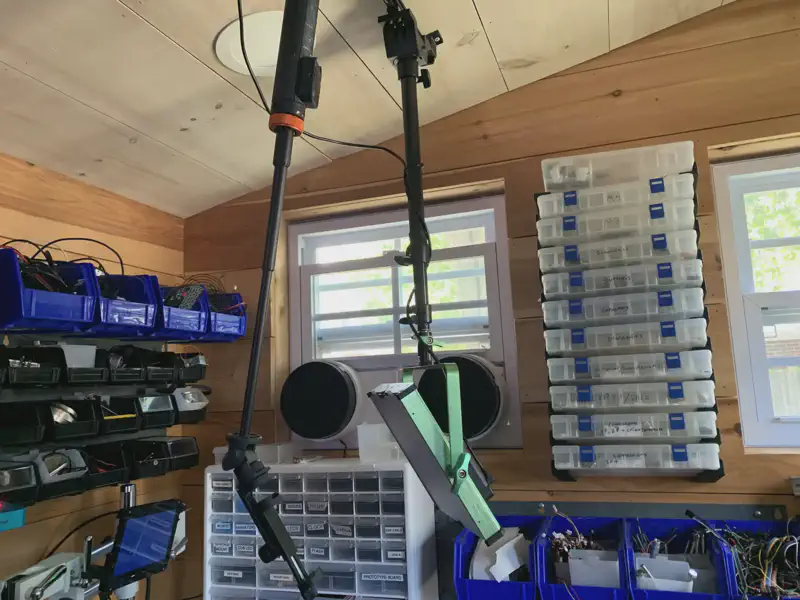
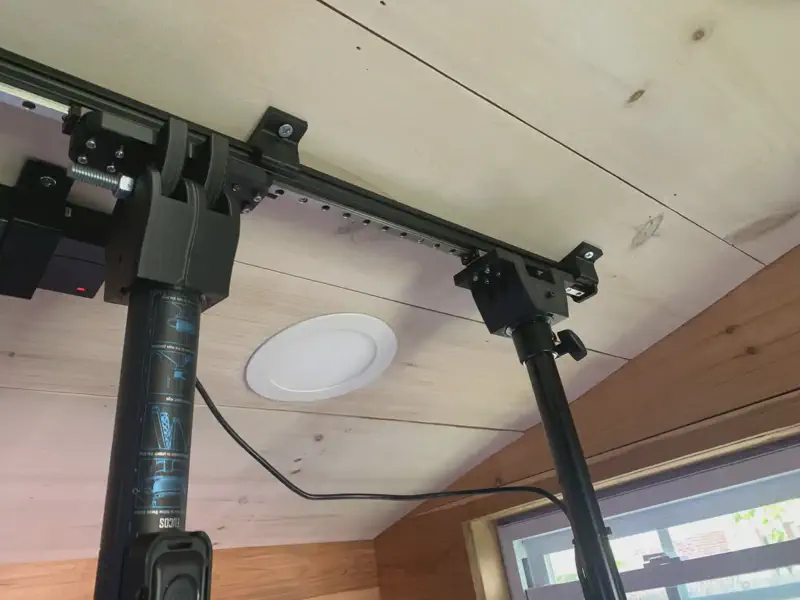
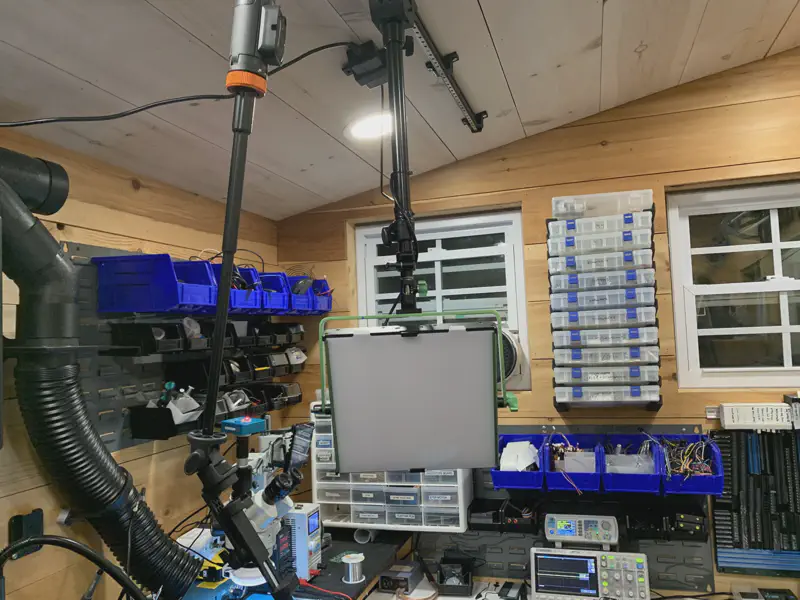
I built the track system using four 400mm lengths of linear rails mounted to 2020 extrusions . These are all connected together and mounted to the ceiling using some 3D printed connectors I designed. Since these are segments and not one solid rail, the linear guides don’t slide smoothly between each 400mm piece and require a bit of force to move between them.
Temperature Control and Ventilation
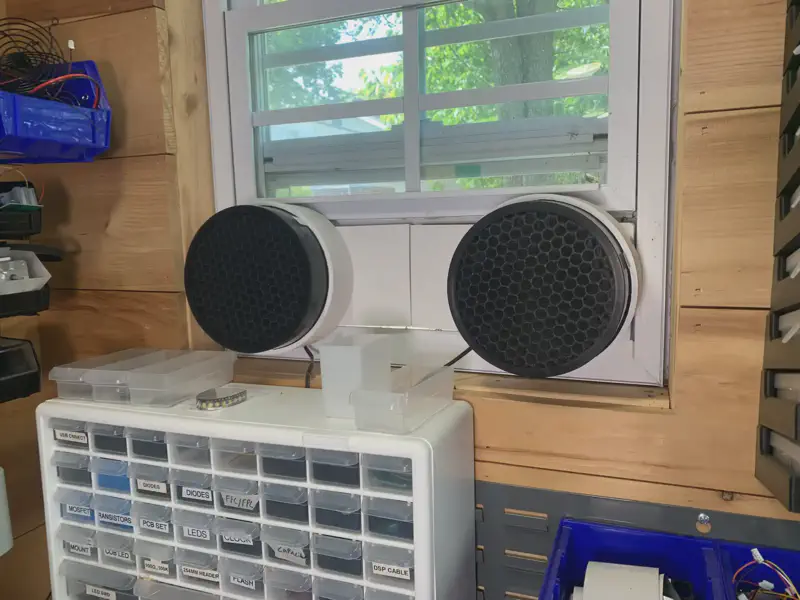
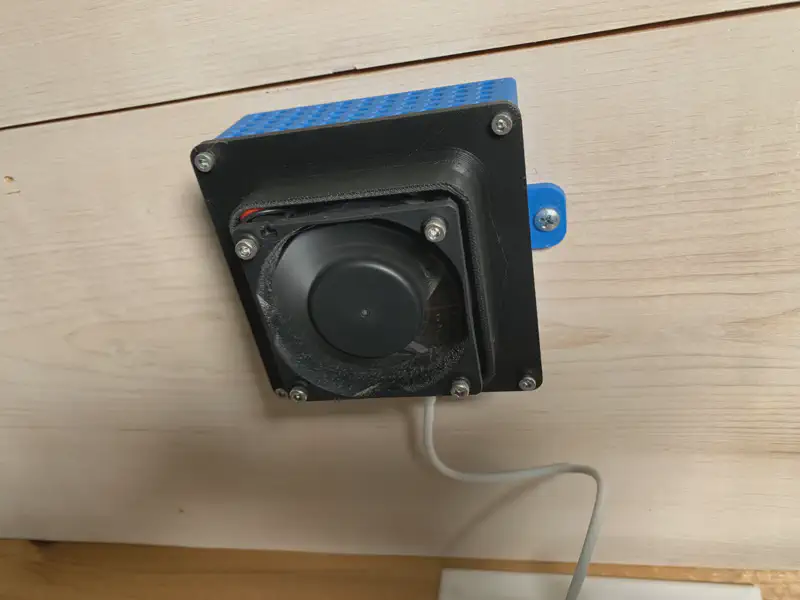
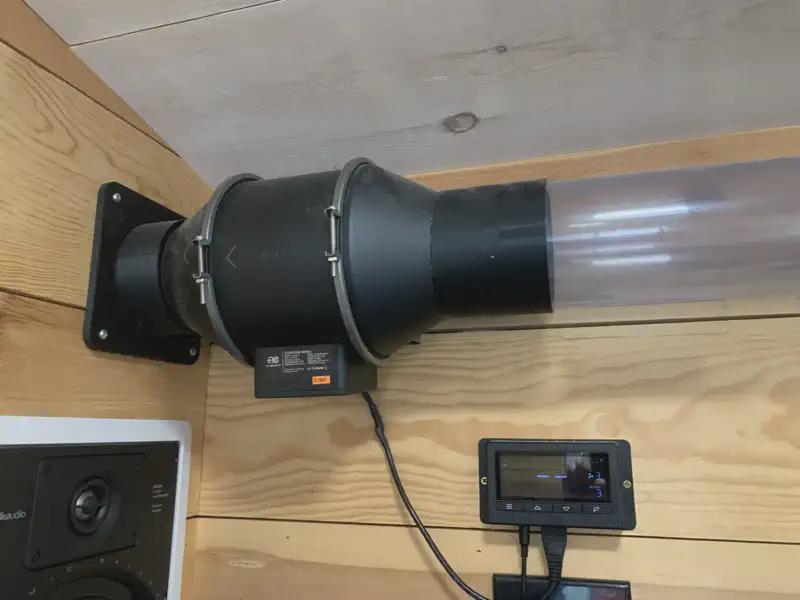
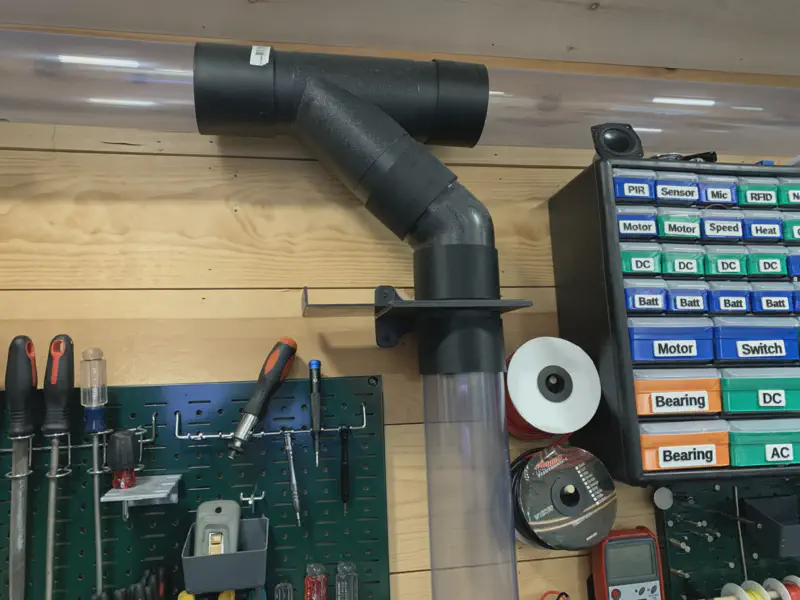
Proper ventilation and air circulation are crucial in a small workshop that has 3D printers, soldering equipment, a rework oven, and a CO2-producing person.
Machine-Produced Fumes
Personal Ventilation
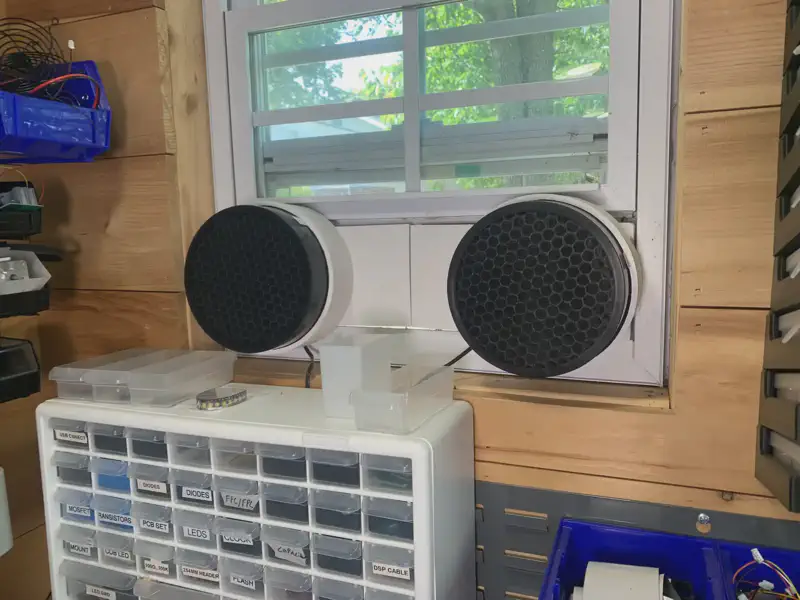
For personal ventilation, I have two AC Infinity fans mounted to HEPA filters in one of the workshop windows. These fans pull in and filter outside air when VOC or CO2 levels are too high in the workshop.
To control the fans they are plugged into a smart switch that connects back to home assistant, a home automation platform.
